Download the Media Creation Tool
Head to Microsoft’s Download Windows 11 page, where you’ll see three options. The first is for installing Windows 11 on you current machine, while the last one downloads an ISO for advanced use. We’ll cover that later; for now, click Download Now under Create Windows 11 Installation Media. This gives you a small file called MediaCreationTool.exe.
Run the tool as an administrator
Right-click on the downloaded file and select Run as administrator. Don’t skip this step, since the tool won’t work properly without admin rights. It should ask you for admin privileges if you open it normally, but it’s better to be sure. Once the tool loads, read through the license terms and click Accept to continue.
Select USB Flash Drive
On the Select language and edition screen, the Use the recommended options box should already be checked and the correct language listed; uncheck this and change that if needed. On the next screen, pick USB flash drive. If you haven’t plugged in the drive yet, do so now, then click Next and choose it from the list.
Double-check that you’ve picked the correct drive, because this tool will erase everything on it.
Wait for the download and creation process
From here, the tool starts downloading Windows 11 and writing a bootable version of it to your USB drive. This can take a while depending on your internet speed, PC performance and USB write speeds. Let it run without interruption.
You’re ready to install Windows 11
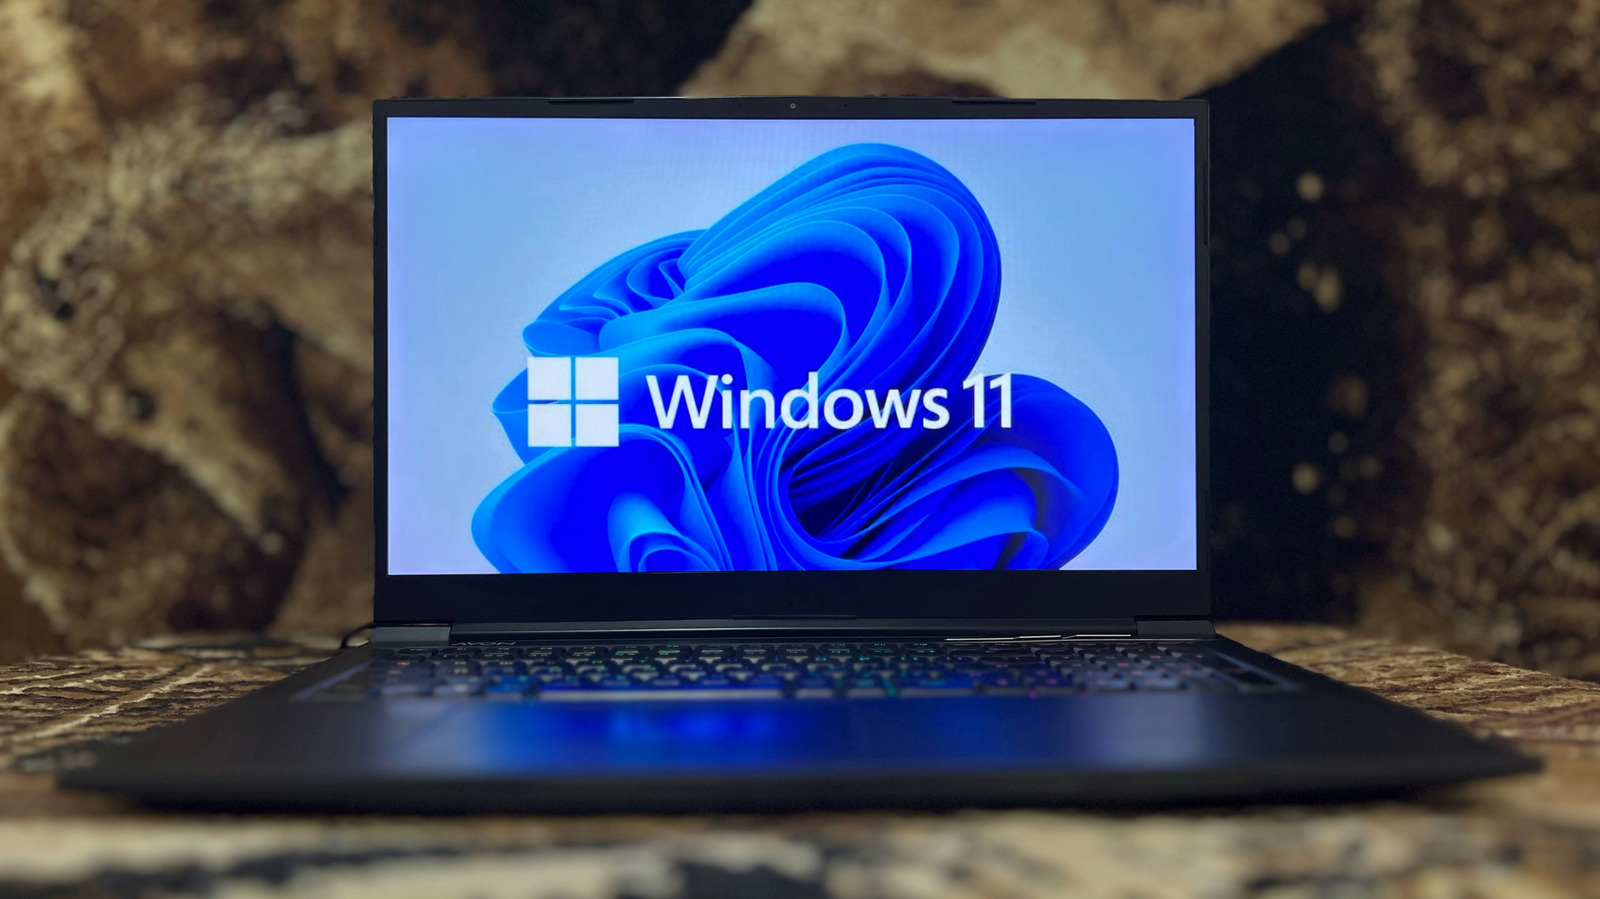
Once complete, the tool will confirm that your USB drive is ready; click Finish. You can now use your bootable Windows 11 USB drive on whatever PC you want to install the OS on. Connect it to the target PC, then during startup, press the key that lets you boot from an external device (depending on the machine, this could be Esc, F12, Del, or something else). Choose to boot from the USB drive, then walk through the process once you enter the Windows installation environment.